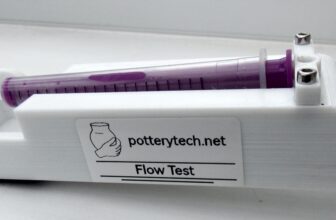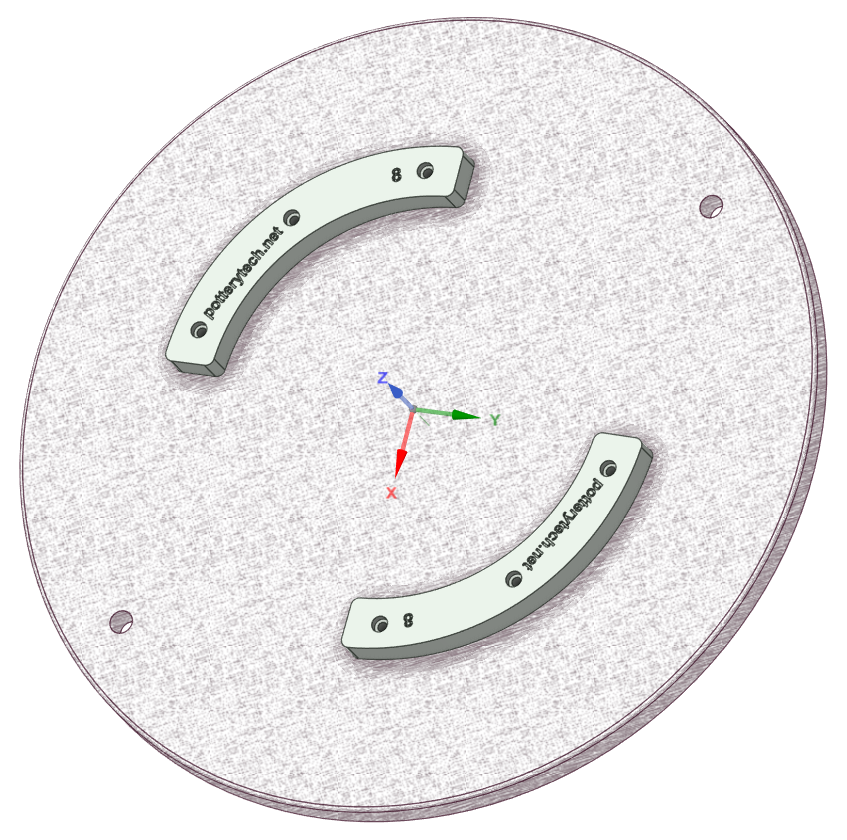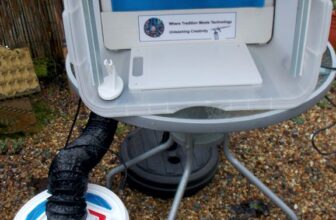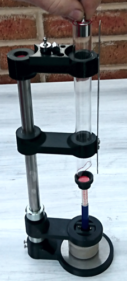
When purchase clay I wanted a way to measure the clay hardness. I wanted a simple repeatable accurate results calibrated to a standard . I designed this instrument using Designed Spark Mechanic CAD software then 3D printed with a Voxelab Aquila X2.
in this project I’ve used a stainless steel shaft and a stainless steel disc.
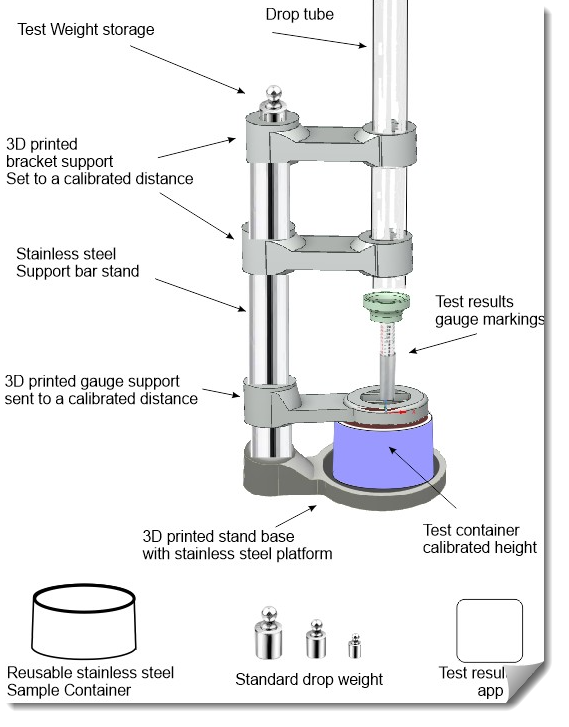
Zero the gauge by pulling up the Drop Plate this will then read zero on the gauge.
Take your weight and align it into the start drop line inside the drop tube . Then release it look at the gauge and take note of the number this is a number you log in your notes for future references
How to use
Take the stainless steel sample container and fill it with clay to the top of the rim. Take a palette knife and scrape across the top of the container. Rotate the gauge support to the left or right. This allows you easy access to the base of the instrument .Placing your sample in the middle of the stainless steel base
Alignment:- slowly rotate the gauge support bracket and look through the drop tube you position the red dot as close as you can in the centre of the drop tube.
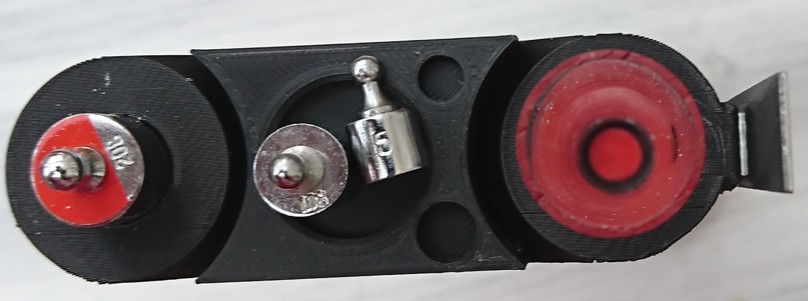
I designed the instrument in a way it can be used to suit all different types of clay hardness. I use three different standard weights this gives you the flexibility of using number (1) weight for heavy to medium clay , if you need a clay that is very soft used in 3D printing you would use the scale weight (2) or (3) the weights are standardised in such a way that all your results will be repeatable always write down your test number alongside the weight number
Next time you make a batch of clay up you use the same weight number as you did in the previous test and alter the moisture in your clay until it matches your existing test
The instrument is designed to give maximum flexibility with a wide range of clay hardness
As everybody uses clay materials for their individual manufacturing processes it sometimes can be difficult to find one tool that that will cover a large range of tests


