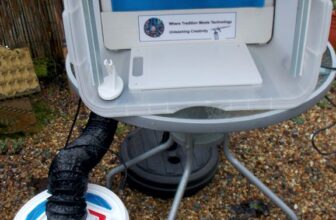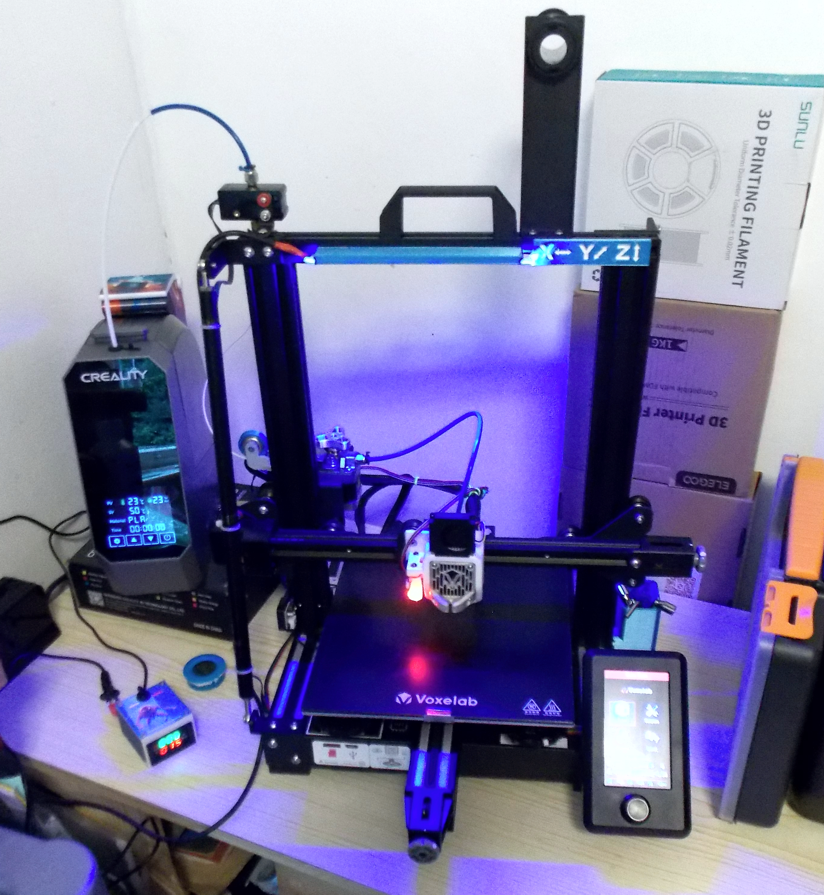
Someone recently inquired about the kind of 3D printer I employ and the advantages of integrating such technology into amateur pottery crafting.
The accessibility and user-friendliness of 3D printers continue to advance, enhancing the functionality and application of the technology. I am currently operating a Voxelab Aquila X2 3D printer, which arrived partially assembled. It included all necessary instructions and tools, requiring only assembly on my part. A critical step was familiarizing myself with the technology and its specific vocabulary—an essential aspect for those interested in 3D printing. I advise novices to begin by watching instructional videos on YouTube, as the platform offers a plethora of information to get you started. Participation in forums and persistent questioning can be helpful when faced with challenges. Unlike “turnkey” solutions, 3D printers demand an understanding of initial setup, followed by learning the creation of 3D models. I suggest starting with simple projects and gradually increasing complexity. Although each new skill presents its own set of hurdles, the outcome can be incredibly gratifying.
There is an abundance of 3D software available, and my preference is DesignSpark Mechanical, but I won’t prescribe any particular one as each person will gravitate towards a program that suits their preferences. To augment my pursuits in both pottery and electronics, I have employed this technology in creative ways.
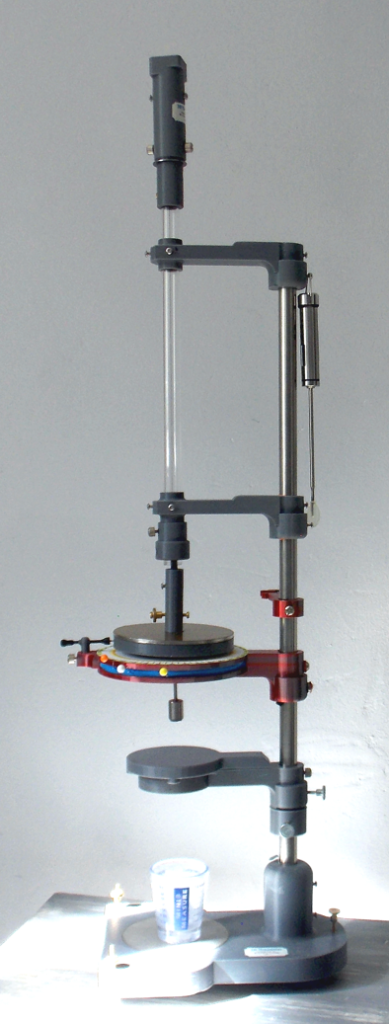
To produce my own glaze mediums, I aspired to construct a device capable of gauging its viscosity—a tool commonly found in professional labs and often costly. It thus seemed fitting for a 3D printing endeavor.
I embarked on designing a functional 3D VISCOMETER, addressing each component’s challenges as they arose. Having completed the VISCOMETER, my next project was a clay extruder. My objective was to devise an extruder easy to operate and capable of extruding clay without the need for bulky mechanics, unlike traditional wall-mounted versions.
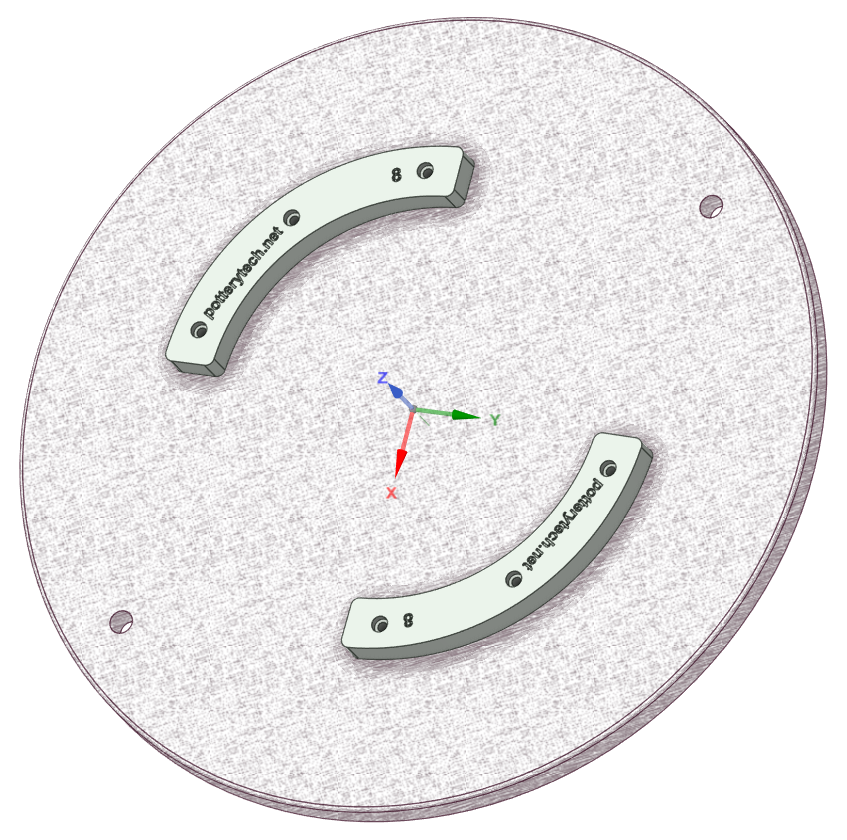
After 3D printing each part, I assembled a hydraulic clay extruder. During initial testing, I encountered a small hiccup when one stressed part, not as durable as anticipated, sent pieces scattering. Eventually, by merging 3D printing with metal, I achieved a functional clay extruder, enhanced by 3D printed dies, illustrating the limitless possibilities of this technology.
Some tools may not warrant 3D printing due to the time-consuming nature of the process; most of the components I design are printed overnight.
For those unique projects in ceramics where you require a specialized tool that’s either too costly or unavailable, 3D printing stands out. It has facilitated numerous other minor projects, particularly in my electronics hobby, where I recently won a premium Weller WX smart soldering station—a piece of equipment I had only dreamt of owning.
While using the new soldering station, I encountered minor issues identifying the various soldering tip sides. To resolve this, I used my 3D printer to create tiny markers that attach to the soldering tips, indicating which side I’m using.
I am confident 3D printers will continue to evolve, becoming simpler to operate, and the software for designing 3D models will also improve. While 3D printers may not suit everyone, this doesn’t preclude engagement with the technology. Should you have a concept or useful product, consider joining a 3D printing forum for potential assistance with your project. Various industries are embracing 3D printing, propelling this innovation and making it increasingly feasible for hobbyists at home.
Crafting personalized tools for hobbies through 3D printing is immensely satisfying. My intricate 3D printed torsion VISCOMETER may be considered extravagant, but I find immense pleasure in its use for precisely tweaking my brush painting glaze mediums.
I sometimes ponder the potential impact if a pottery supply retailer would adopt 3D printing, perhaps offering file sharing and further development opportunities.
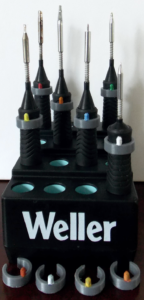
When using a very fine soldering tips which have different shaped profile ends it can be difficult to place the solder on the most important part of the smart tip and to achieve the maximum each transfer without any identification markings indicating which side to place the solder you have to use your magnifying glasses to check where the solder is being applied on the tip itself, by using my design 3D printed markers it’s eliminates this issue and speed up the soldering process with much more accuracy
The next problem I Encounter there is a metal bar across the soldering stand so when you place your soldering iron into its stand you can very easily catch a metal wire on the outside of the tip this will eventually easily damage your soldering iron tip to solve this problem I made a silicon roll so that the smart tip rolls against a cushion rather than scraping across a piece of Spring wire which is in contact at the top and bottom of the smart tip if this wire breaks your tip will become useless
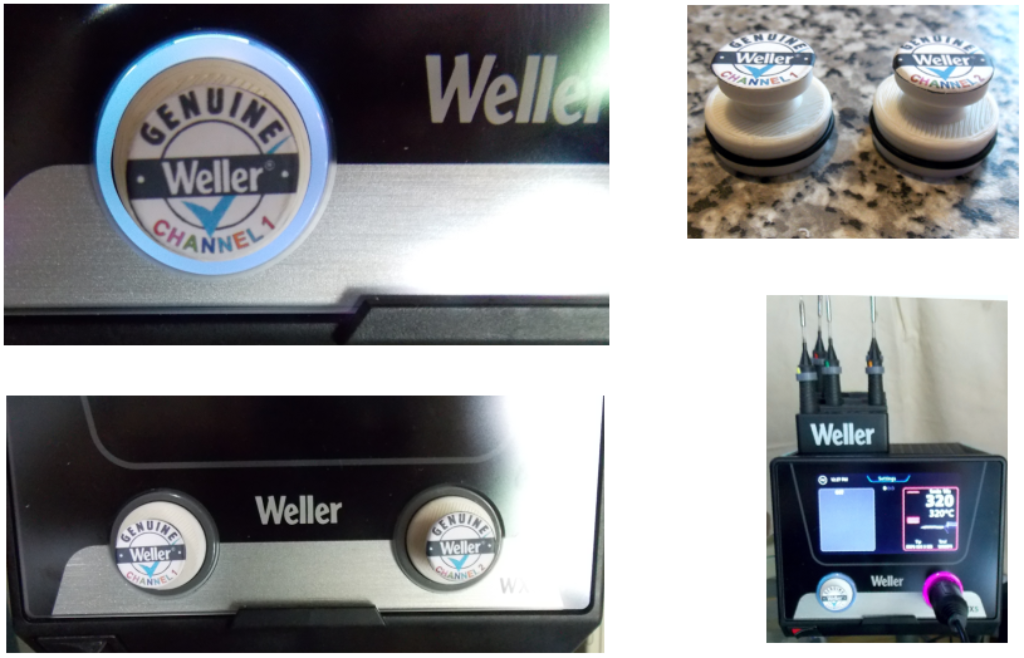
I also designed some channel caps these are dust covers to protect the channel on the salting station if you are only using one channel it’s possible that dust and debris could build up into the socket by using a cover it limits as problem and extends the life of the unit
Designed by Michael G Parry – Thomas
