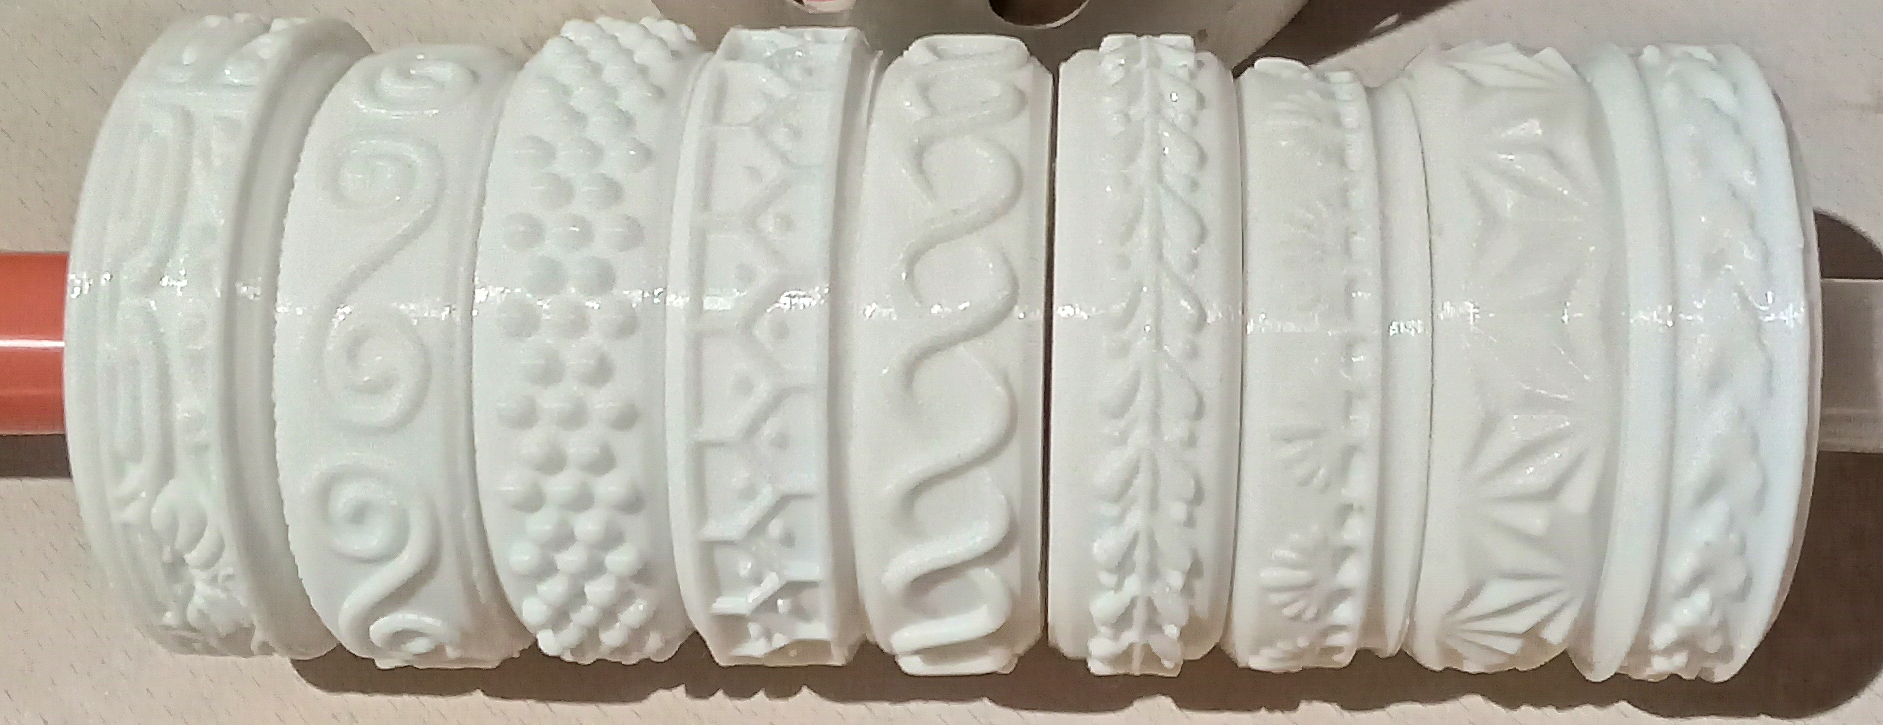
3D Printed Pattern Rollers
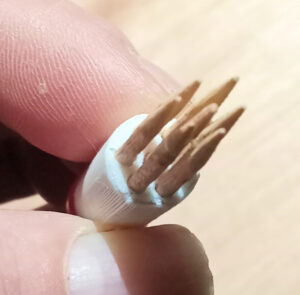
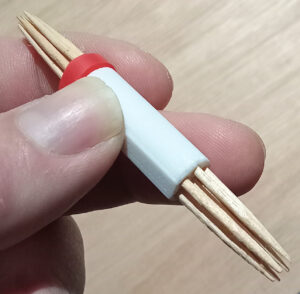
3D printed scratch tool
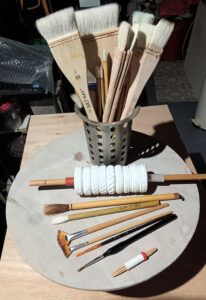
Choosing the Right Brushes and Tools for Brushing Glazes
When it comes to glazing, the brush you use can make all the difference.
Hake Brushes
Natural hake brushes, made with super-soft goat hair bristles, are highly absorbent and perfect for applying brushing glazes. They really stand out from the crowd and give you smooth, even coverage.
Chinese Bamboo Brushes
For applying oxides, I prefer Chinese bamboo brushes. These come in many different sizes and styles, making them versatile for different applications.
Artist’s Acrylic Brushes
When working with underglaze colours, I often use artist’s acrylic paint brushes. They’re widely available, come in all shapes and sizes, and are easy to control for detail work.
Why the Right Brush Matters
Using the wrong type of brush for brushing glaze can make it difficult to achieve an even coat. One challenge I’ve found is that brushing glazes vary a lot between suppliers and brands.
Some glazes work beautifully straight from the pot, while others don’t. For example, I’ve had batches that simply wouldn’t apply evenly, even when thinned with water (as recommended by the supplier). The only way I could make them usable was by adding my own glaze medium, which helped the glaze flow smoothly over the surface without drying too quickly or sticking to the brush.
There are commercial additives on the market that improve brushability, but ideally a brushing glaze should work straight from the pot. Unfortunately, not all of them do. This usually comes down to the way the manufacturer has formulated the suspension solution (a mix of water, gums, and other ingredients).
Tips for Better Glaze Application
Test first: Always try a small amount of glaze on the base of your ceramic piece before coating the whole surface.
Remember always clean the base of your ceramic items you do not want glaze sticking to your kiln furniture .
Adjust if needed: Add a little water (if the glaze is water-based) or a medium to improve flow.
Apply multiple coats: Most brushing glazes need about three coats for full coverage.
Invest in good brushes: A high-quality brush makes it much easier to achieve smooth, even results.
3D-Printed Pottery Tools
Alongside brushes, I’ve been experimenting with 3D-printed tools to expand what’s possible in the studio.
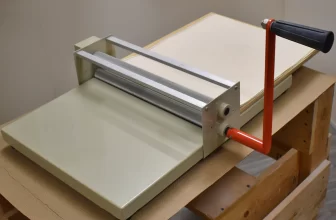
Pattern Rollers
Recently, I printed some texture rollers using PETG filament (240 °C nozzle, 70 °C heated bed). Pattern roller files are easy to download online, and once printed they’re great for slab building or adding textures to thrown work.
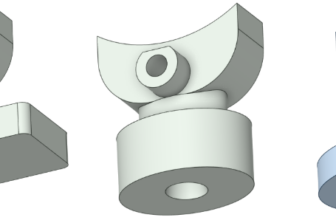
Scratch Tools
I also designed a simple tool for scoring clay when hand-building. It uses cocktail sticks slotted into a 3D-printed holder, with one end held together by silicone rubber. This creates a compact cluster of sticks that’s perfect for scratching the surface before applying slip and joining parts. The cocktail sticks last a long time, and when they wear out you can just slide them out and replace them with new ones.
Final Thoughts
Choosing the right brush — and experimenting with your own tools — makes a huge difference to glazing and hand-building. Don’t be discouraged if a glaze doesn’t behave the way you expect. Often, it’s not your technique but the way the glaze has been made. With testing, adjustment, and the right tools, you’ll get the smooth, even finishes you’re aiming for.