DIY Pottery Damp Box: A Space-Saving Wet Cupboard Alternative
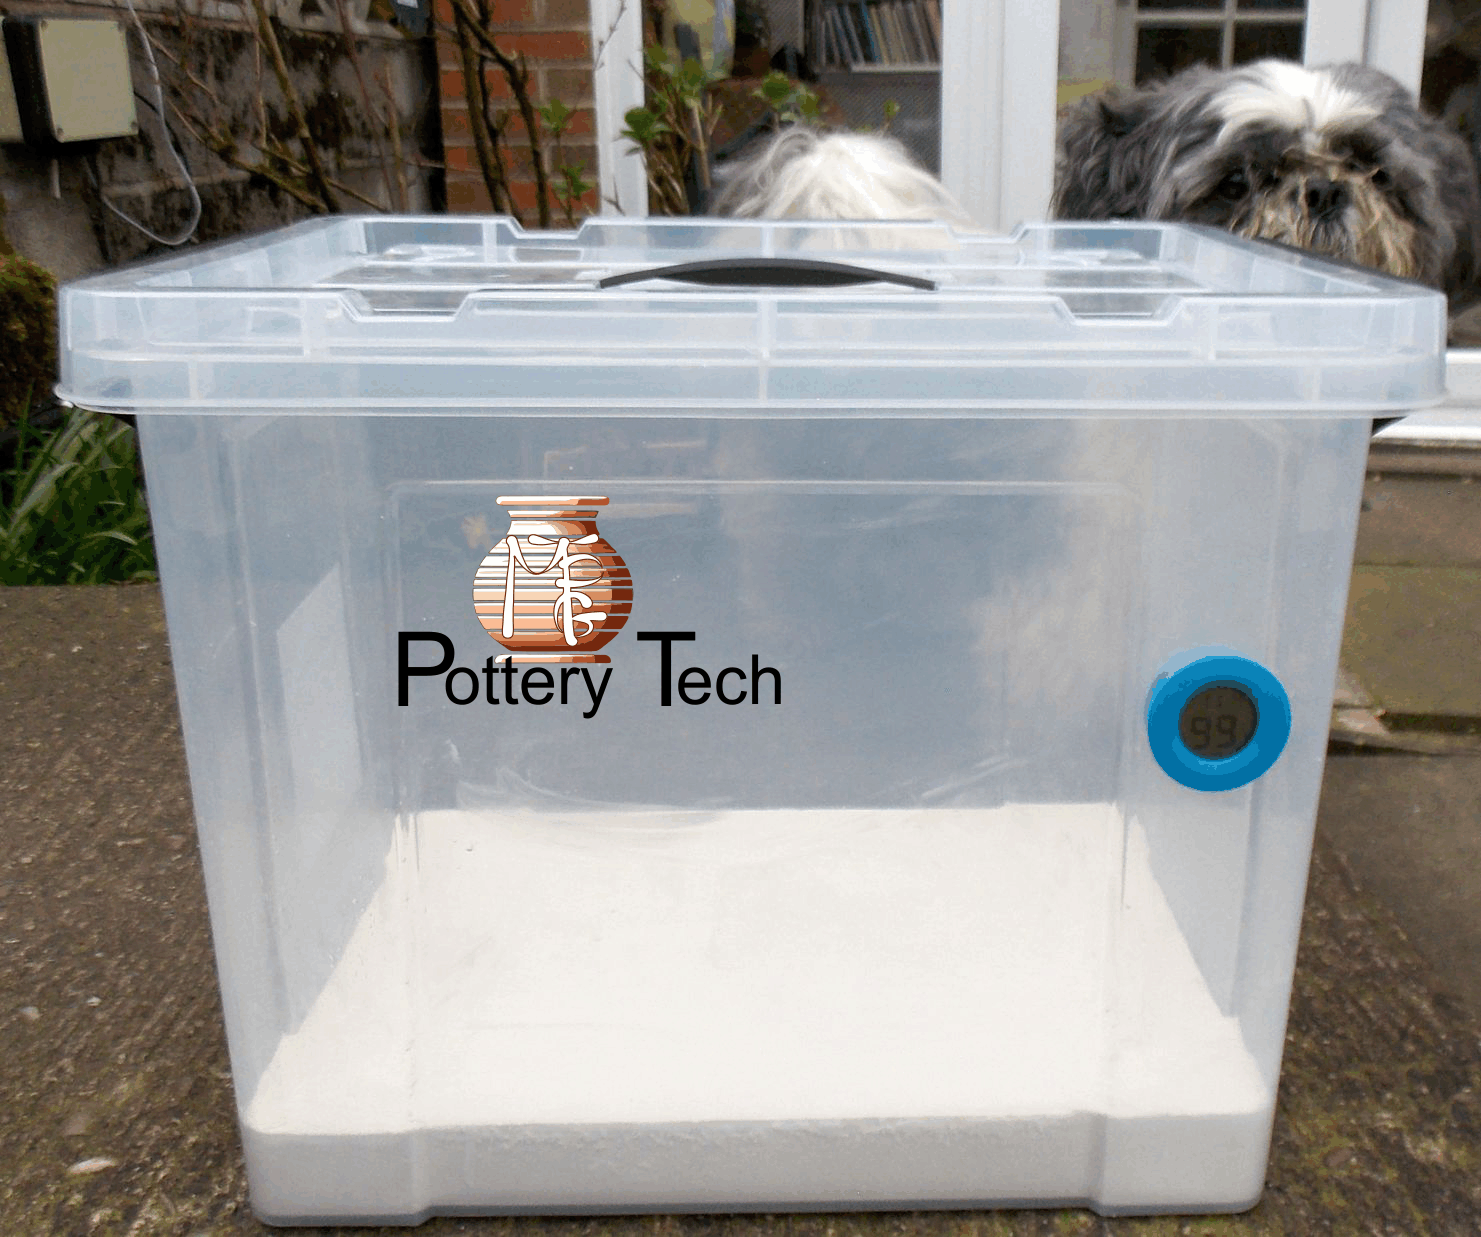
My pottery studio is very small, and I wanted a way to work on pieces over time without dedicating valuable floor space to a permanent wet cupboard. I needed a reliable way to manage the moisture in my clay, so I settled on a space-saving compromise: instead of a fixed cabinet, I converted a sealed plastic storage container into a DIY controlled-humidity box (often called a damp box).
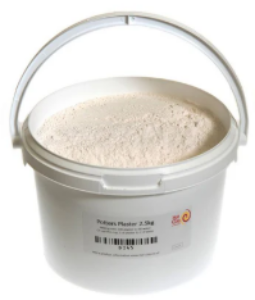
To build it, I started with a heavy-duty sealed plastic box and 2.5 kg of plaster from hotClay—which turned out to be exactly what each box required. I measured the proper amount of water, poured it directly into the container, and mixed in the plaster to form a plaster bat on the bottom, roughly 2 inches thick.
Once the plaster sets, it acts as a moisture reservoir. When re-wetted, the damp plaster gradually releases moisture into the sealed box, maintaining a high internal humidity perfectly suited for keeping clay moist. To keep an eye on the exact conditions, I mounted a temperature and humidity sensor on the outside so I can monitor and adjust the environment as needed.
These DIY damp boxes are stackable, and I plan to add internal shelving so I can efficiently store multiple small pieces. It’s important that greenware or wet pots don’t sit directly on the plaster, or they’ll wick up too much moisture from the bottom. To avoid that, I am fitting a plywood shelf just above the plaster bat, complete with plenty of drilled holes so the humid air can easily travel upward. The pots will rest safely on the plywood rather than touching the wet plaster. I’ll also make wooden supports so the shelf height can be adjusted for different items, ensuring the boxes remain neatly stackable.
An extra advantage of this pottery studio organization hack is versatility. I can put extruded clay or partially prepped work inside to keep it workable until needed—incredibly handy for safely transporting pieces between workspaces or prepping clay ahead of a session. Overall, this arrangement gives me complete control over drying and humidity in a small pottery studio, entirely eliminating the need for a bulky, dedicated wet cupboard.
1 tub 2.5 kg of plaster.
1. plastic box with lid.

1. Humidity Monitor Gauge.
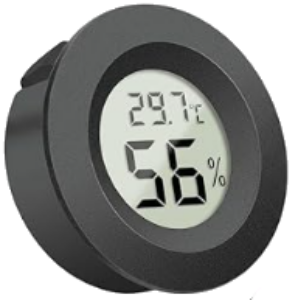
To mount the humidity gauge you will need to drill a hole into the side of the box then you simply pushing the sensor in. This will accurately give you a reading of the moisture