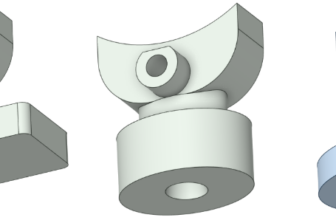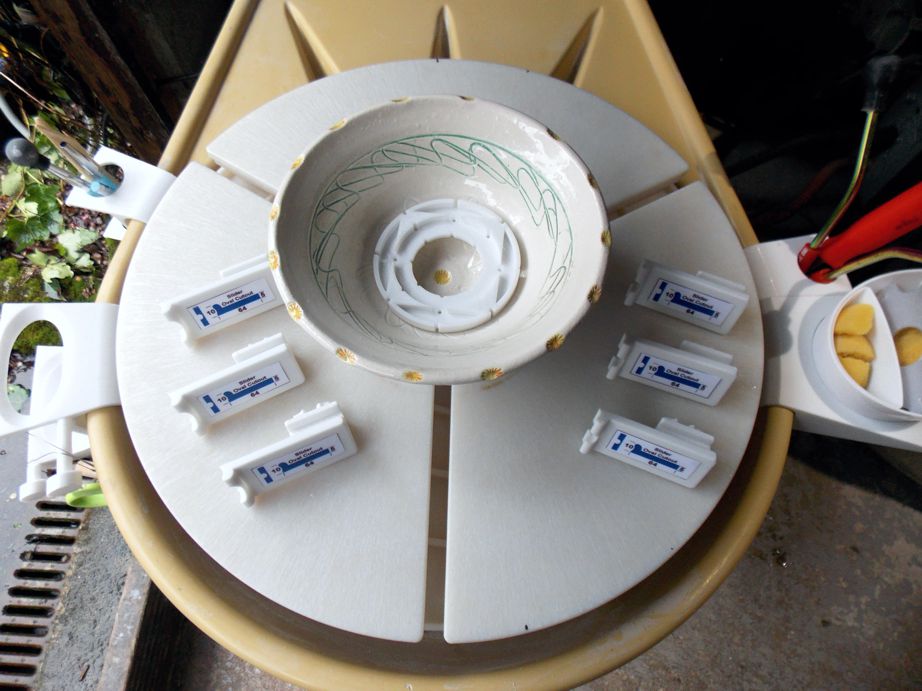
I have recently created some bowls that feature a decorative rim. To achieve the pattern on the edge of the bowl, I fashioned a small press mold. For centering and securely holding the clay pot while I turn a foot on the hand-thrown bowl, I like to utilize the Giffin Grip. I discovered that when designing this type of decorative edge, I required a slider tool that could accommodate the pattern. The rim design involves pressing the material in, causing the clay to bulge outward on the decorative edge. There are a variety of sliding tools available with the Giffin Grip that cater to different situations when it comes to centering and securing handmade items.
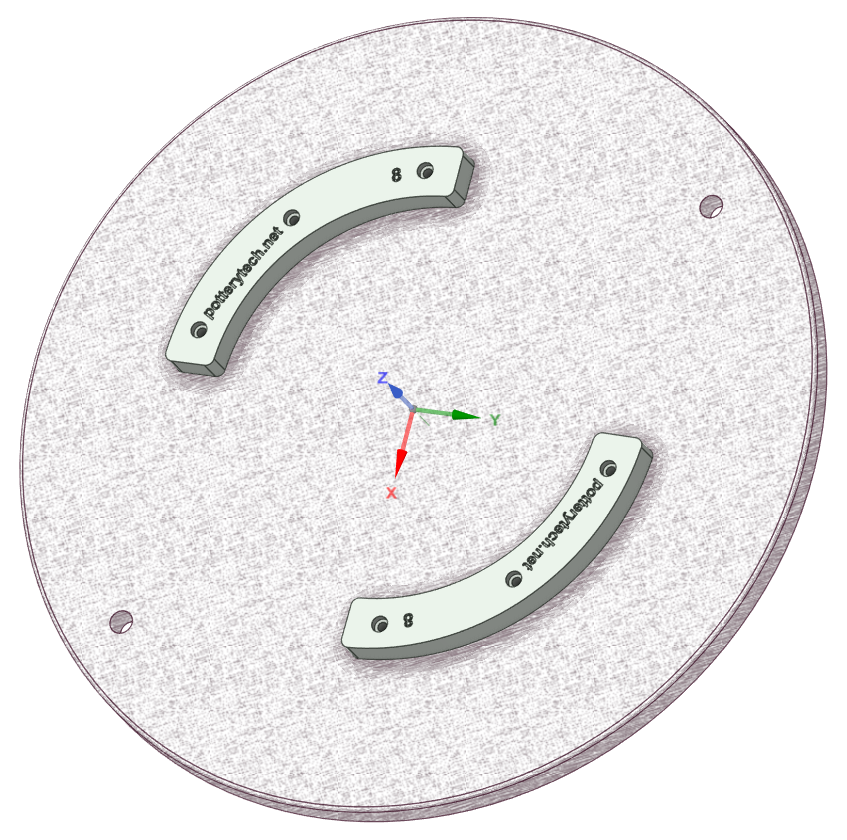
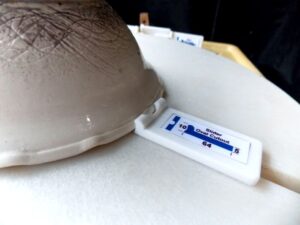
I made the decision to 3D print some custom sliders that would facilitate the indentations around the bowl’s rim. These tailored sliders have a very low profile, making them ideal for items with a thin rim. My custom sliders were produced using my recently rebuilt 3D printer, which now operates with a direct drive system. Additionally, the printer is housed within an enclosure that helps maintain a stable temperature, providing numerous advantages when printing 3D components. The sliders were created with 95% infill using PETG filament and were designed in the CAD software DesignSpark Mechanical
DesignSpark Mechanical
A direct modeller that requires no prior experience with 3D CAD software and allows you to freely create and modify geometry. Also includes a 3D Mirror tool and detailing tools to annotate parts and create manufacturing drawings. Exchange designs with SOLIDWORKS®, CATIA™ and AutoCAD® users in STEP, IGES, DXF and DWG formats.
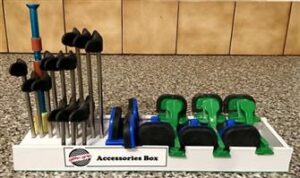
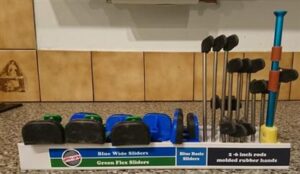
To keep my Giffin Grip accessories organized, I decided to create a small toolbox holder for them.
The process of assembling this toolbox holder was quite straightforward and simple. To begin with, I looked around for a leftover piece of electrical trunking that I could repurpose. Luckily, I found a very wide offcut in my collection of scrap materials. I removed the upper section of this trunking, leaving me with just the U-shaped portion, which would serve as the main structure.
Next, I proceeded to cut a piece of Flomax to fit snugly into the U-shaped trunking, essentially creating a stable base for the holder. After that, I drilled holes into the base to accommodate the extension arms, ensuring that they would secure the accessories properly. Additionally, I carefully cut out slots designed to hold the various sets of sliders that I had planned. This design allows for easy access and retrieval of the correct sliders needed for the handmade pottery items, making the whole process much more efficient.
