VC06 Vitraclay Studio Throwing Clay
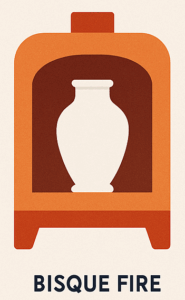
Bisque firing is the first stage that turns bone-dry clay into ceramic.
This step-by-step guide explains how to safely fire VC06 clay in a top-loading electric kiln.
Step 1 – Safety and Pre-Firing Checks
Before switching on the kiln, take a few minutes to prepare:
Check the elements – make sure they are intact and not sagging or broken.
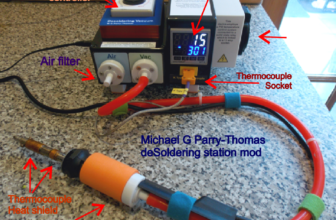
Check the thermocouple cable – the protective covering should not be damaged.
Power on the controller – confirm it starts up normally with no error messages.
Vacuum the kiln base – remove dust and small particles. This step is especially important in glaze firings, as loose debris can settle onto your pots and ruin the finish.
Check under the kiln – remove any rubbish, paper, or debris that may have gathered over time.
Step 2 – Understanding the Basic Controller
Basic controllers let you set three things:
- Ramp rate – how fast the kiln heats up.
- Target temperature – the Set point.
- Soak/Hold – how long the kiln stays at a set temperature.
Step 3 – Loading the Kiln
Clay must be completely bone dry before firing.
Drying cycle example:
Ramp: 50 °C/hr
Target: 150 °C
Hold: 2 hrs
👉 Keep peep holes open during drying so moisture can escape.
Tips:
Place props in the same position on each shelf.
Turn shelves over occasionally ( Only if there is no glaze applied to your ceramic items ,
Always apply batt wash when using glaze on your ceramics ).
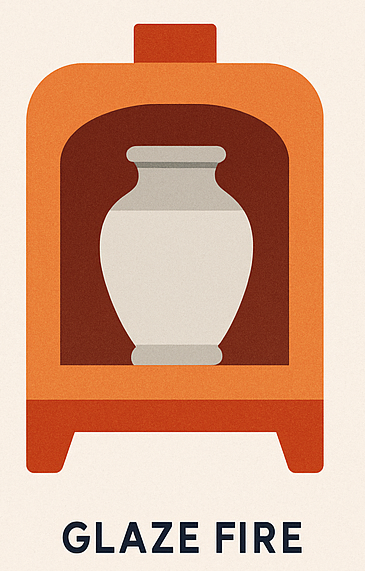
Step 4 – Main Bisque Firing for VC06 Clay
Ramp: 100 °C per hour
Target temperature: 1000 °C
Hold: 50 minutes
Total time: ~10 hours (excluding drying cycle)
Step 5 – Learning Your Kiln
Every kiln fires a little differently. Keep these in mind:
Always read kiln and controller instructions.
Some controllers use cone numbers instead of temperature. Heat work
Always check the firing range for your clay body.
For first firings, use cones T
O to see how evenly the kiln fires.
Watch for hot and cold spots.
Balancing your kiln takes patience and practice.
Step 6 – Using Advanced Controllers
Advanced controllers may:
Fire by cone number. Heat work
Include built-in firing schedules from the manufacturer.
These are reliable, but it’s helpful to:
Check ramp rates, target temperatures, and holds.
Adjust gently as you get used to your kiln.
Final Note
Every kiln is unique, and every firing load is slightly different.
By starting slowly, keeping records, and making small adjustments, you’ll soon get consistent results with VC06 clay.
Kiln Firing Log book
Plan, log, and visualize your kiln firing cycles
Handout by Michael G Parry-Thomas · PotteryTech.net