
It’s raining cats and sponges
Why are there so many different types of sponges, and do they actually affect the outcome of your ceramic pieces? I recently decided to purchase a set of Mudtools sponges. They are probably the most expensive sponges I’ve ever bought, but I quickly realized they are entirely worth the investment.
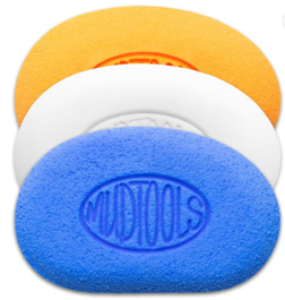
It all comes down to the quality and structure of the material. The size of the holes in a sponge dictates how it interacts with the clay. A coarse sponge with larger openings removes more clay, while a closed-cell sponge with very fine holes removes almost none, making it perfect for finishing your ceramic masterpieces. I bought a color-coded set of three Mudtools sponges—coarse, medium, and smooth—and their closed-surface design makes a huge difference.
The Magic of Natural Sponges
I have so many sponges now that it’s raining cats and sponges in my studio! Every time I see a new one, I can’t resist testing it to see what textures it can create. It is amazing how such a simple tool can completely change the surface of your pottery.
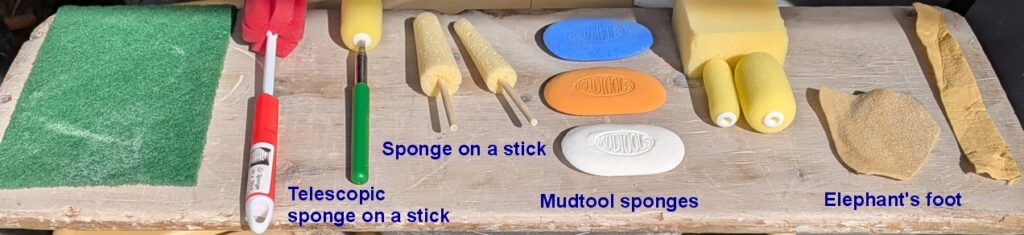
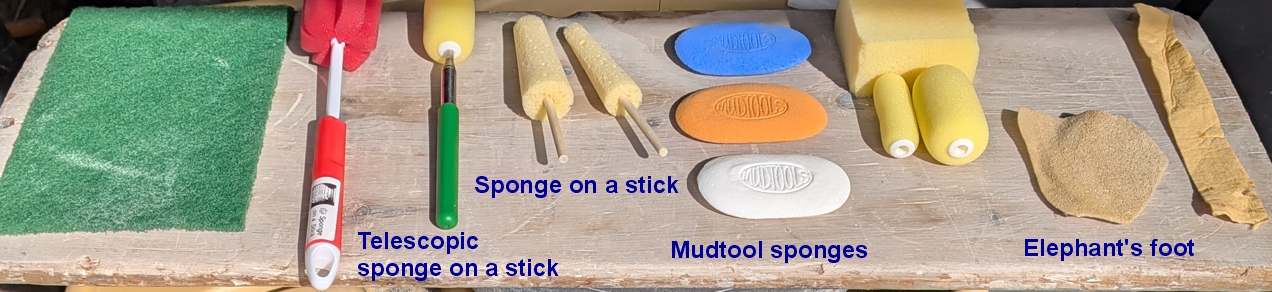
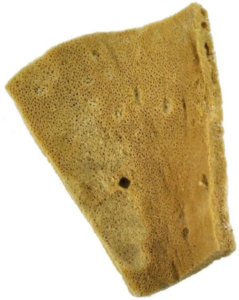
Another absolute favorite of mine is the Elephant Ear marine sea sponge. It has a unique feel and is absolutely perfect for throwing. While they can be pricey, they last a long time and bring a touch of nature to the wheel, which feels very fitting when making pots. It is always my go-to when I start throwing. Once I finish throwing and move on to fettling and sponging, I switch to my medium and fine Mudtools sponges.
Cleaning Up and Glazing Tricks
For general studio cleanup and wiping down equipment, I use larger synthetic sponges. I always buy them in bulk and cut them into smaller pieces.
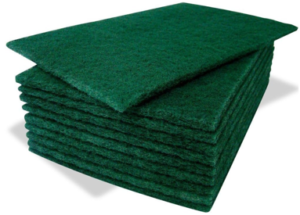
Another incredibly useful material for cleanup is a heavy-duty green scourer. It is perfect for cleaning dry glaze off the bottom of a pot so it doesn’t stick to the kiln bat. You just rub the bottom of the pot onto the flat green scourer to clean the area, then lightly sponge the edge to ensure no glaze is left behind.
Speaking of glazing, I’ve recently started using wax resist on the bottoms of my pots. It adds an extra step to the process, but I can’t believe how much time it saves during cleanup. It severely limits the time spent tidying up the edges after dipping or brushing on glaze.
Specialty Sponges and Budget Finds
Back to sponges—I also ordered a large bag of cheap, kidney-shaped sponges. They are about 5mm thick and feel like the foam used in packing boxes. They barely take off any clay and work out to just a few pence per item, making them a great bargain.
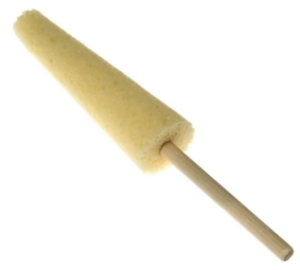
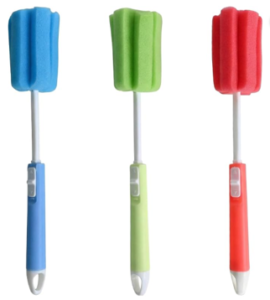
Another essential tool is the sponge on a stick. I used to make my own by tying a sponge to a wooden dowel. You can buy telescopic metal versions, but because they are made of a metal alloy, I couldn’t see them lasting long around water. Instead, I searched for an alternative and found a fantastic plastic telescopic dish-washing sponge. It has an amazing round sponge on the end, contains no metal parts to rust, and works incredibly well when throwing. It’s a regular in my rotation now.
You can also use natural art sponges—the kind found in most craft shops—or cut regular sponges into different shapes to use as stamps for applying glaze colors to your pieces.
My Sponge Toolkit Breakdown
Finding the right sponge can seem complicated, but you really just need a few reliable types. Here is how I break down my own sponge collection into four main categories:
- Cleaning Sponges: Cheap synthetic sponges for wiping down work surfaces and equipment.
- Finishing Sponges: A quality set of three (coarse, medium, and fine), like the Mudtools set.
- Specialist Throwing Sponges: A top-quality natural Elephant Ear sponge.
- Auxiliary and Decorating Sponges: Sponges on a stick, cheap kidney sponges, and shaped sponges for dabbing glaze.
As you can see, it doesn’t take long before it starts raining cats and sponges! I would love to review more commercial sponges used in ceramics. If anyone has a sponge they highly recommend, please let me know in the comments.